Are you tired of seeing the same background image on all your monitors? Do you want to personalize your computer setup and make it more visually appealing? Well, you’re in luck!
Setting a different background on each monitor is a great way to add some variety to your desktop and showcase your creativity. Whether you have a dual-monitor or multi-monitor setup, this article will guide you through the process of customizing each monitor individually.
Step 1: Check your Display Settings
Before you can set a different background on each monitor, you need to make sure your computer supports this feature. Most modern operating systems like Windows 10 and macOS Mojave offer built-in support for multi-monitor setups.
To check your display settings on Windows, right-click on your desktop and select ‘Display Settings.’ Under the ‘Choose your display’ section, you should see a dropdown menu with options for each connected monitor. If you can see all your monitors listed, you’re good to go.
On macOS, click on the Apple menu at the top-left corner of your screen, go to ‘System Preferences,’ and click on ‘Displays.’ You should be able to see all your connected monitors and their arrangement in the ‘Arrangement’ tab.
Step 2: Find the Perfect Background Images
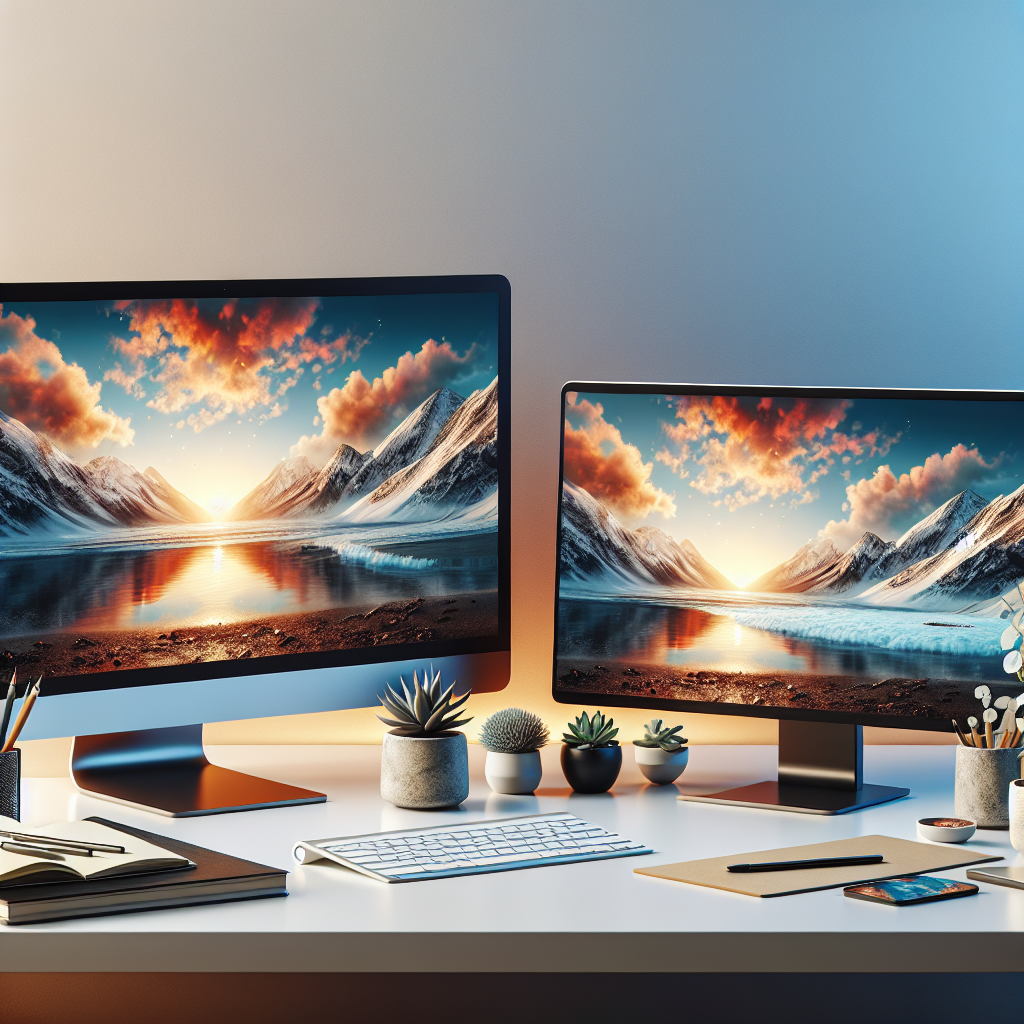
Now that you’ve confirmed your computer can handle different backgrounds on each monitor, it’s time to find the perfect images to customize your desktop. You could use high-resolution wallpapers, personal photos, or even create your own artwork.
There are plenty of websites that offer free and paid wallpapers in various categories. Some popular choices include Unsplash, Pexels, and Wallpaper Abyss. Remember to choose images that suit the aspect ratio and resolution of each monitor for the best viewing experience.
Step 3: Set the Backgrounds
Once you have your desired images ready, it’s time to set them as the backgrounds for each monitor.
On Windows, go back to the ‘Display Settings’ window and scroll down to the ‘Choose your background’ section. Select ‘Slideshow’ from the dropdown menu, and then click on the ‘Browse’ button to navigate to the folder where your images are saved. Choose the folder, select the images you want to use, and click on ‘Choose this folder.’ Finally, customize the settings like picture position, slideshow duration, and more if desired.
On macOS, go back to the ‘Displays’ settings and click on the ‘Desktop’ tab. You can now drag and drop your desired images from a Finder window onto the thumbnail of each monitor. Alternatively, you can click on the ‘+’ button below each monitor’s thumbnail and navigate to the folder where your images are saved.
That’s it! You have successfully set a different background on each monitor. Enjoy the new look of your computer setup and experiment with different images to match your mood or aesthetics.
Additional Tips
- Regularly change your backgrounds to keep your desktop fresh and inspiring.
- Consider using images that complement each other or tell a story across multiple monitors.
- Experiment with different picture positions, such as fill, fit, stretch, tile, or center, to find your preferred display style.
- If you’re using multiple monitors with different resolutions, make sure to resize or crop your images accordingly for the best fit.
- Don’t overload your desktop with too many visually distracting images. Keep it clean and organized.